This article shows how to authenticate with a username and password.
Available account in Azure Active Directory.
Available Azure MS SQL server.
Azure Active Directory is set to centrally manage identity and access to Azure SQL Database.
Installed MS ODBC Driver for SQL Server. The current version is 17.
You can connect with DNS using Data Connection Manager (DCM) or without it.
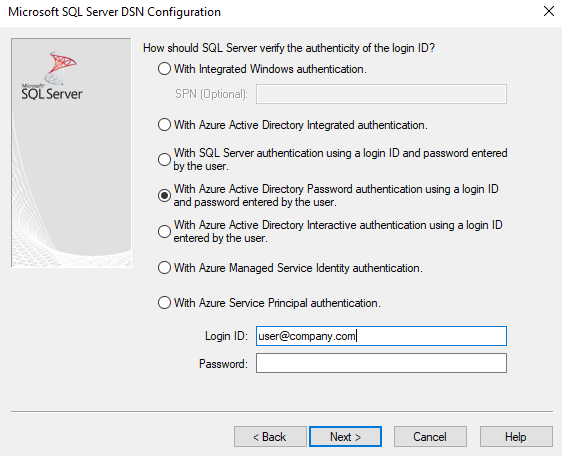
Prerequisites: User or System DSN is configured in ODBC data source manager to use Azure Active Directory Password authentication.
Place the Input Data tool on the Designer canvas.
Select the down arrow in the Connect a File or Database field.
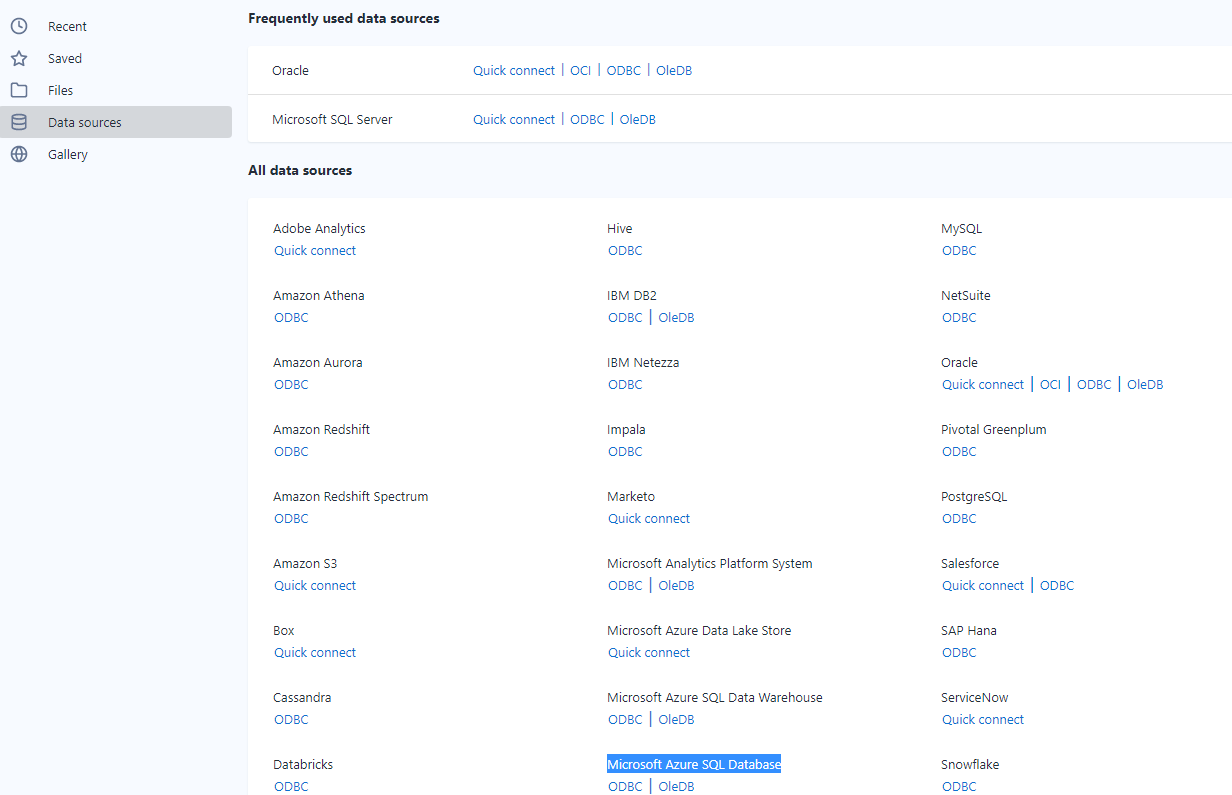
From Data Sources, choose Microsoft Azure SQL Database - ODBC.
Choose DSN created in the preconditions from the dropdown.
Provide Username and Password and select OK.

Choose any table from your database in the Query Builder.
Select OK.
Make sure that DCM is enabled.
Place the Input Data tool on the Designer canvas.
Below Connect a File or Database field, select Set Up a Connection.
From Data Sources, choose Microsoft Azure SQL Database - ODBC.
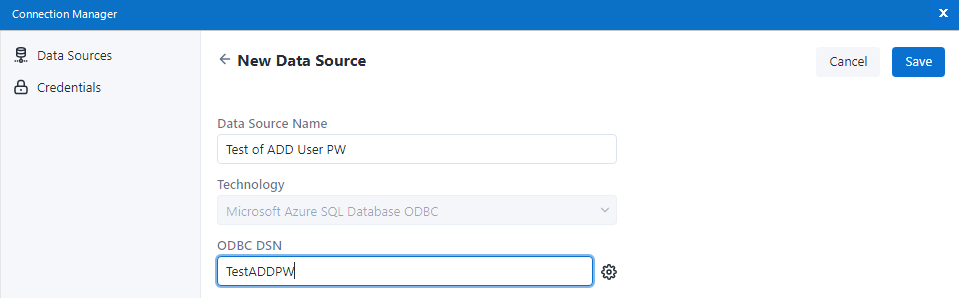
Provide data source details and select Save.
ODBC DSN should have the name of DSN created in ODBC Data Sources.
Select Connect Credential.
Choose the User name and password authentication method credential type.
Select Link or Create and Link.
Select Create New Credential for the Credential.
Enter a descriptive name for Credential, User name and Password, and select Create and Link.

Select Connect.

Choose any table from your database in the Query Builder.
Select OK.
You can establish a DSN-less connection using Data Connection Manager (DCM) or without it.
Place Input Data tool on Designer canvas
Enter this connection string to Connect a File or Database field:
odbc:Driver={ODBC Driver 17 for SQL Server};Server=tcp:<_your_server_>,1433;Database=<_your_db_>;Uid=<_user_name_>;Pwd=<_your_pw_>;Encrypt=yes;TrustServerCertificate=no;Connection Timeout=30;Authentication=ActiveDirectoryPasswordReplace text between <> with actual values.
Select the 3 dot icon next to the Table or Query option.
Choose any table from your database in the Query Builder.
Select OK.
Make sure that DCM is enabled.
Place the Input Data tool on the Designer canvas.
Below the Connect a File or Database field, select Set Up a Connection.
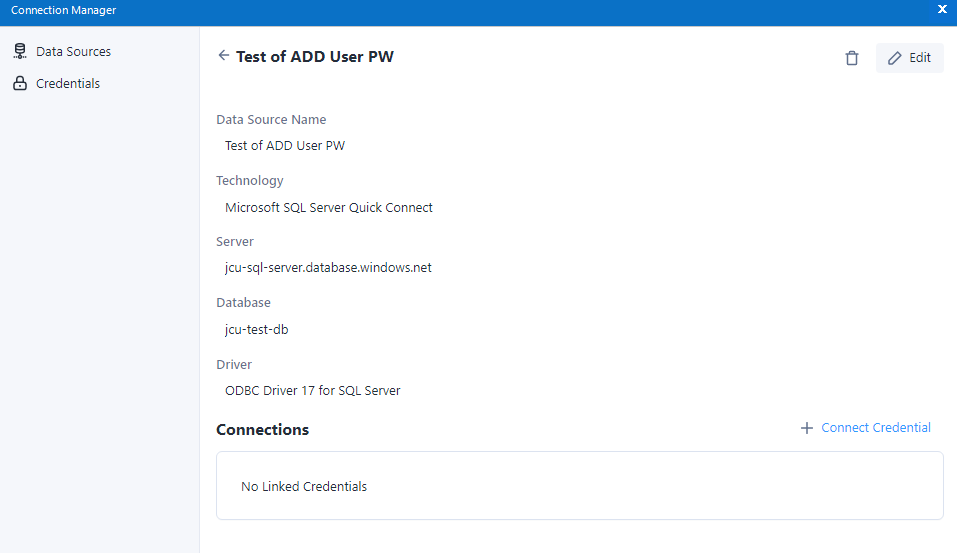
Choose Microsoft SQL Server - Quick connect from Data Sources.
Select the Add Data Source button.
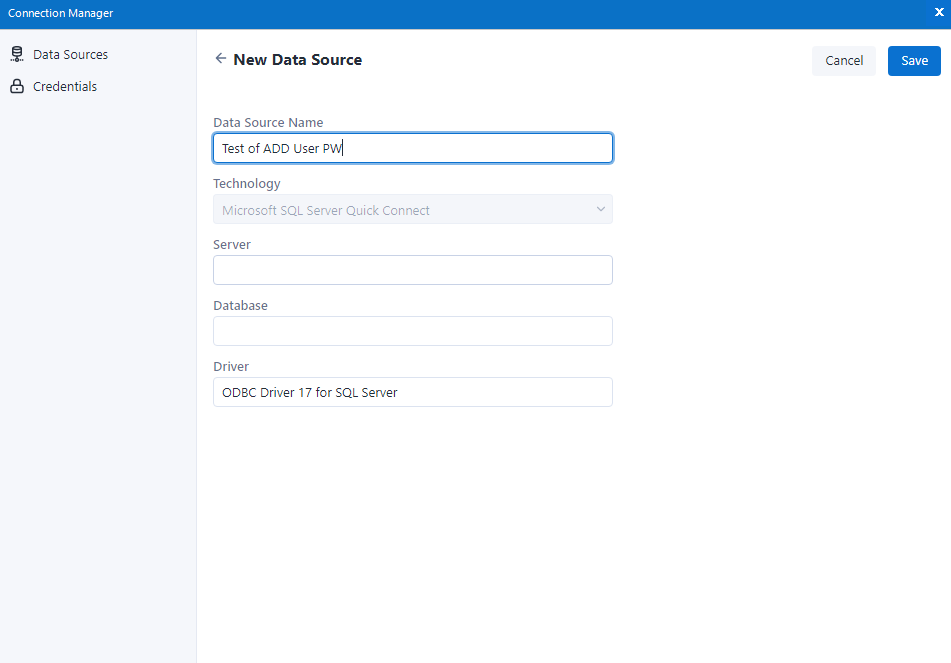
Provide a descriptive name for Data Source Name, actual server, and database name.
Make sure the Driver is set to ODBC Driver 17 for SQL Server.
Select the Save button.
Select Connect Credential.
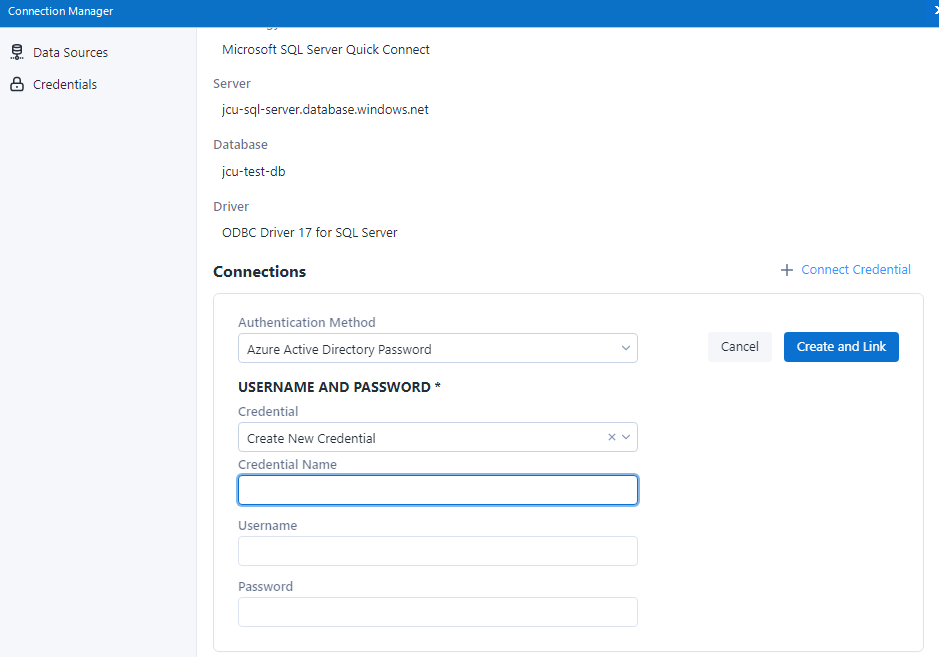
Choose the Azure Active Directory Password authentication credential.
Select Create New Credential for the Credential.
Enter a descriptive name for Credential, User name, and Password and select Create and Link.
Select Connect.
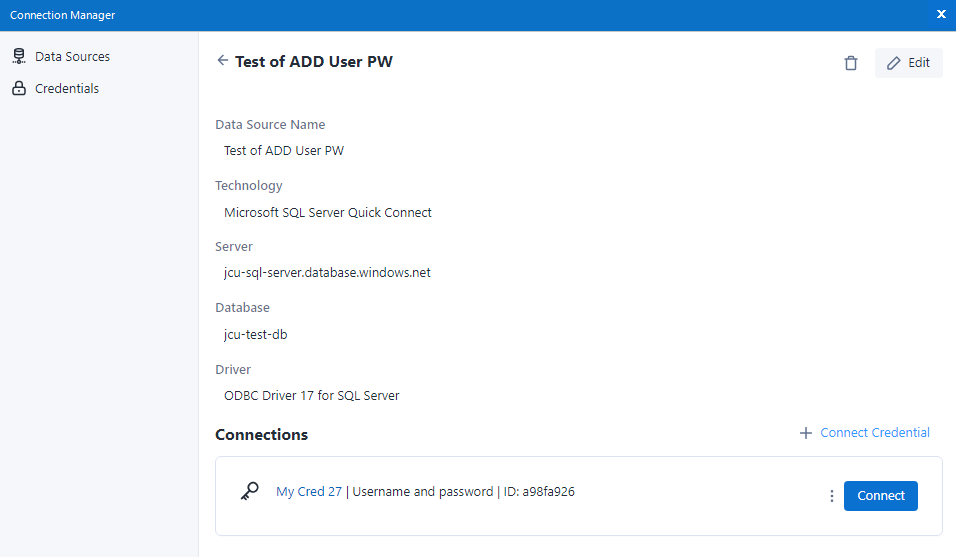
Select any table from your database in the Query Builder.
Select OK.