Getting Started with Designer Cloud Powered by Trifacta
This section applies to getting started with Designer Cloud Powered by Trifacta, an AWS-native platform for data wrangling. The following following product tiers are available:
Premium Edition
Enterprise Edition
Professional Edition
Starter Edition
Designer Cloud Powered by Trifacta enables you to rapidly ingest, transform, and deliver clean, actionable data across your entire enterprise. Please review the following sections on how to prepare for and set up your Designer Cloud Powered by Trifacta workspace.
Note
This section applies to both the free version and the licensed version of Designer Cloud Powered by Trifacta. For more information on the differences, see Product Limitations.
This section provides an overview of how to get started using the product.
Administrators should complete the first section to set up the product for use.
After set up is complete, individual users should complete the second section to get started using the product.
Setup Process
Tip
To speak to a support representative, click the icon in the corner and submit your question.
Steps:
Before you begin. If you are using your own AWS S3 buckets, you should prepare them and their access policies to ensure that Designer Cloud Powered by Trifacta can integrate with them.
Note
If you do not have these AWS resources, they can be created for you. Details are below.
Technical setup: Please share the technical setup section with your S3 administrator.
Register. Complete the simple online task to license and create your Designer Cloud Powered by Trifacta workspace.
Workspace setup. Before you invite other users to your workspace, you should complete a few setup steps.
Invite users. If you intend to share the workspace with other users, you can invite them from within it.
Wrangle away!
Before You Begin
Hosted on Amazon Web Services, Designer Cloud Powered by Trifacta is designed to natively interact with AWS datasources, so that you can rapidly transform your data investments in AWS.
Alteryx managed account
When the product is first launched, a default storage environment is automatically created for you as part of this setup process. TFS is hosted by Alteryx and secured by IAM policies. This default storage environment is managed by Alteryx and is used for storing data assets as well as assets generated by use of the product.
Using S3 as default storage environment
If preferred, you can configure the use of S3 as the default storage environment.
Note
When S3 is used as the default storage environment, you must provide the policies, buckets, and other AWS resources required to manage your datasets and generated results. You must acquire configuration information before you can connect to your S3 assets. These requirements for these resources are covered later.
Using combinations of TFS and S3
Any of the following storage environment options can be configured after registration. These environments can be configured through the Trifacta Application in Workspace Settings, which are covered during Workspace Setup later.
Default Storage Environment | Additional Storage Environment |
|---|---|
TFS | none |
TFS | S3 |
S3 | none |
S3 | TFS |
Whitelist the IP address range of the Alteryx Service
Note
This feature may not be available in all product editions. For more information on available features, see Compare Editions.
Before you begin creating connections to your relational sources, you must whitelist the IP address range of the Alteryx Service in the relevant security groups.
Note
The database to which you are connecting must be available from the Alteryx Service over the public Internet.
The IP address range of the Alteryx Service is the following:
Note
On the database server for each relational source type (Oracle, SQL Server, etc.), you must whitelist these IP addresses.
For Designer Cloud Powered by Trifacta:
35.245.35.240/28
For Redshift:
For Redshift, there are two ways to whitelist the IP range depending on if you are using EC2-VPC or EC2-Classic (not common).
EC2-VPC (Security group): Add the IP address range to the inbound rule for the security group associated with the cluster. For more information, see https://docs.aws.amazon.com/redshift/latest/gsg/rs-gsg-authorize-cluster-access.html#rs-gsg-how-to-authorize-access-vpc-security-group.
EC2-Classic: Add the IP address range to the inbound rule for the security group associated with the EC2 instance. For more information, see https://docs.aws.amazon.com/redshift/latest/gsg/rs-gsg-authorize-cluster-access.html#rs-gsg-how-to-authorize-access-cluster-security-group.
For details on this process with RDS in general, see https://docs.aws.amazon.com/AmazonRDS/latest/UserGuide/Overview.RDSSecurityGroups.html
For more information, please contact Alteryx Support.
Register for Designer Cloud
Tip
You can begin using Designer Cloud Powered by Trifacta pre-configured with a template of interest. Please visit the Templates page and select the template of interest. Then, click Sign up for Free Trial. For more information, see https://www.trifacta.com/templates.
To begin the registration process, please visit https://www.trifacta.com/start-wrangling.
Login
After you have completed registration, you must verify your email address. After verification, log in to the application.
Note
If you selected S3 as your default storage layer, you must configure access before you can use the workspace. Please use the links below for more information.
Workspace Setup
Set Default Storage Layer
You can configure TFS or S3 as your default storage layer. As needed, you can enable access to the other resource as a supplemental connection. For more information, see Configure Storage Environment.
Set up AWS credentials
If you selected S3 as your default storage layer, you must provide your AWS credentials. For more information, see AWS Account Page.
Review Workspace Settings
As the first registered user, you are assigned the workspace admin role, which provides control over workspace-level settings. Before you invite users to the workspace, you should review and modify the basic configuration for the workspace.
Tip
You can also rename the workspace.
For more information, see Workspace Settings Page.
Verify Operations
Note
Workspace administrators should complete the following steps to verify that the product is operational end-to-end.
After you have applied a configuration change to the platform and restarted, you can use the following steps to verify that Alteryx Analytics Cloud is working correctly.
Invite Users
Note
First-time users of the product should access it by invitation only. Do not provide direct URLs to first-time users.
You can invite other people to join your workspace.
When users initially join your workspace, they are assigned a non-admin role. Through the Users page, you can assign roles.
Select User menu > Admin Console > Users. Then, click Invite Users.
For more information, see Users Page.
The workspace administrators must provide credentials for each workspace member account. See Users Page.
Example Flows
When a new workspace is created, the first user is provided a set of example flows. These flows are intended to teach by example and illustrate many recommended practices for building your own flows. For more information on example flows, see Basics.
Getting Started for Workspace Users
Tip
After you have registered for a trial, you can immediately begin using the product.
This section contains additional steps that may be required to use all features of the product.
Email verification
When you connect to the product, you may see a banner indicating that you have not confirmed your email address.
Note
You cannot invite other users to your workspace or receive email-based notifications from the product until you verify your email address.
Steps:
In the Trifacta Application, click the button in the banner to send an email to the address that you used to register.
You should receive an email like the following:
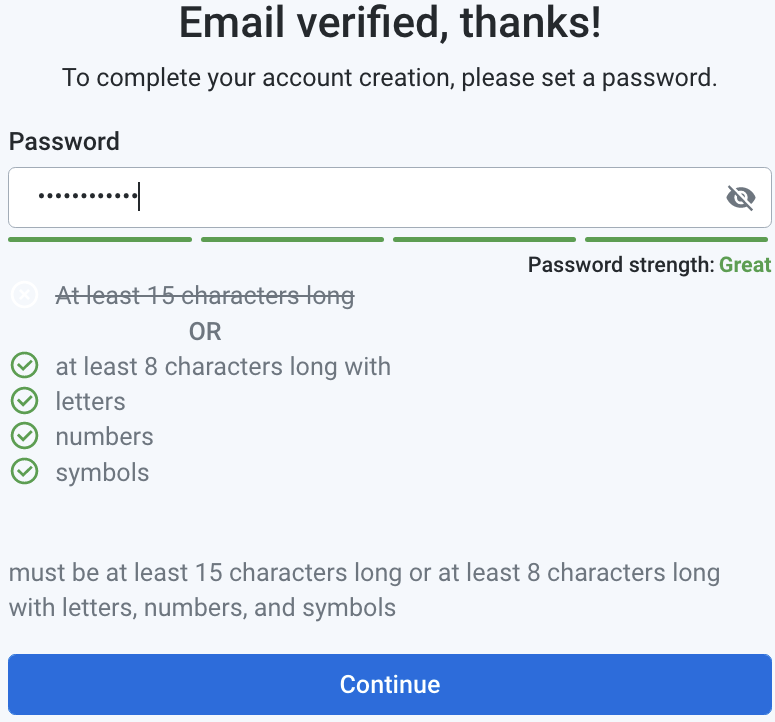
Figure: Welcome email
Click the link.
Storage configuration
Individual users may be required to provide their own AWS authentication credentials. When they login for the first time, you may see a Missing Storage Settings error message. For more information, see AWS Account Page.
Verify operations
To verify that the workspace is operating correctly for your configuration, run a job. See "Verify Operations" above.
Additional resources
To access the full customer documentation, from the left nav bar, select Resources menu > Documentation.
The following resources can assist workspace users in getting started with wrangling.
For an overview of the product, see Product Overview.
Check out the Alteryx Community. See Alteryx Community.
Try the free Wrangler certification course. See Alteryx Academy.
For a basic summary of each step of the wrangling process, see Basics.