Users Page
Note
This feature may not be available in all product editions. For more information on available features, see Compare Editions.
The Users page enables adding, disabling, or removing users from your project or workspace. You can also reset passwords and change roles.
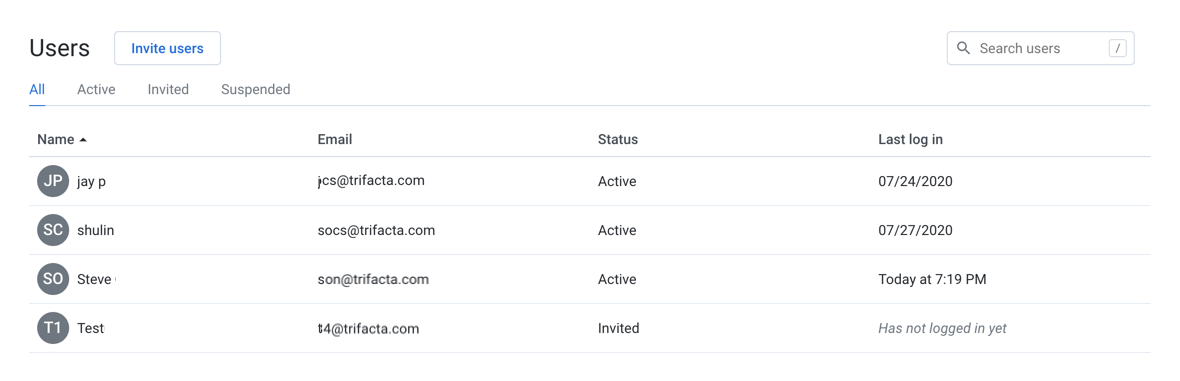
Figure: Users Page
Tabs:
Click one of the tabs to display all users or a filtered list based on user status.
Pending invitations can be reviewed in the Invited tab.
Fields:
Name: Display name for the user. Click the name of the user to review details about the user account. SeeUser Details Page.
Email: Username (email address of users)
Status: Current status of the user. See "Status" below.
Last login: Timestamp for the last time that the user logged in to the Trifacta Application
Actions:
Invite users: See "Invite Users" below.
Search: Enter text to begin searching for specific usernames or email addresses.
Sort: Click a column name to sort the list of users in ascending or descending order.
Context menu actions:
For each user, you can perform the following actions in the context menu:
Configure storage: If per-user access is enabled, you can configure the access credentials for individual users, either using key-secret combinations or IAM roles. For more information, see Configure Your Access to S3.
Edit:Modify user properties, including platform roles. See "Edit Users" below.
Reset password: Self-service password reset is enabled by default. If enabled, click this option to send an email to the user to reset his or her password.
Disable:When a user is disabled, the user cannot access the Trifacta Application.
The disabled user still counts against the project or workspace limit.
All of the user's assets are retained.
Note
Schedules owned by a disabled user continue to execute. An admin can disable the schedule. See Schedules Page.
Assets that are owned by the user become inaccessible to other users that have access.
To permit access again, select Enable.
Remove: When a user is removed, the user's account, including and all assets are removed from the Trifacta Application.
At time of removal, you can choose to transfer ownership of the user's assets to another user. If those assets are not transferred, they are removed with the user's account.
Warning
If you must recover a removed user or that user's assets, please contact Alteryx Support within 14 days of the deletion.
An admin cannot remove himself or herself from the project or workspace.
Status
Users can be set to one of the following statuses:
Invited:User has been sent an email but has not yet clicked the link to activate the account.
Enabled: User can log in and use the Trifacta Application normally.
Disabled: User account has been disabled by an administrator. User cannot use the project or workspace.
Note
A disabled user's assets are still stored within the Trifacta Application. However, the user cannot access them. Ownership of these objects has not been transferred. An administrator has ownership privileges on the user's objects.
Invite Users
To invite users to your project or workspace, please do the following:
Note
When a user accepts your invitation, the additional user counts toward the maximum number of permitted users.
Note
If you are re-inviting a user who has been removed, you must wait 14 days to invite the user back to the same project or workspace and retain the user's data. If restoring the user's assets is not important, please contact Alteryx Support for immediate re-instatement.
For more information, see Invite Users.
Edit Users
To modify a user account, please complete the following steps.
Note
For security reasons, an administrator is not permitted to edit some settings in the administrator's own account.
Steps:
Locate the user in the list of users.
In the context menu on the right side of the user's listing, select Edit.
In the Edit User dialog, modify the following properties as needed:
Name: The display name of the user.
Email: The email address is used as the login identifier. This value cannot be modified.
Roles: Select or remove the roles to assign to the user. For more information, see Roles Page.
Roles
Users can have one of the following roles..
Note
Users whose roles have changed may be logged out of the application. When they log in again, the new roles are applied.
For more information, see Privileges and Roles Reference.
default
A user with thedefaultrole has basic privileges to use the product.
Workspace admin
A user with the Workspace admin role all user privileges, as well as the ability to administer the workspace.
Custom role
As needed, you can create custom roles. For more information, Create Role.