Configuring Azure Active Directory SAML
If your organization uses Azure Active Directory, then it is possible to configure SSO Authentication for Auto Insights. The following steps show the Azure configuration that is required.
This article is a companion to the Single Sign-On (SSO) article, providing specific steps to configure Azure AD SAML.
Sign in to Azure at https://portal.azure.com.
Navigate to Azure Active Directory: https://portal.azure.com/#blade/Microsoft_AAD_IAM/ActiveDirectoryMenuBlade/Overview.
Select Enterprise Applications.
Select + New Application.
Select Create your own application.
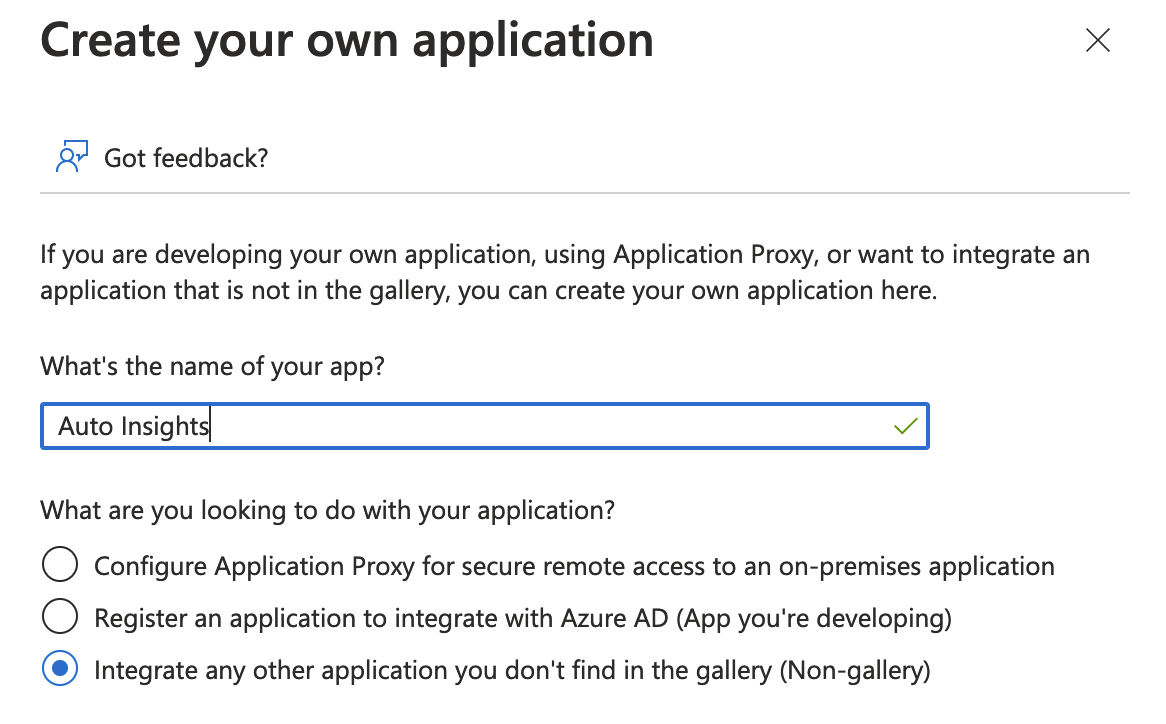
Give the app a name, for example, Auto Insights.
Select Non-gallery application.
Select Create.
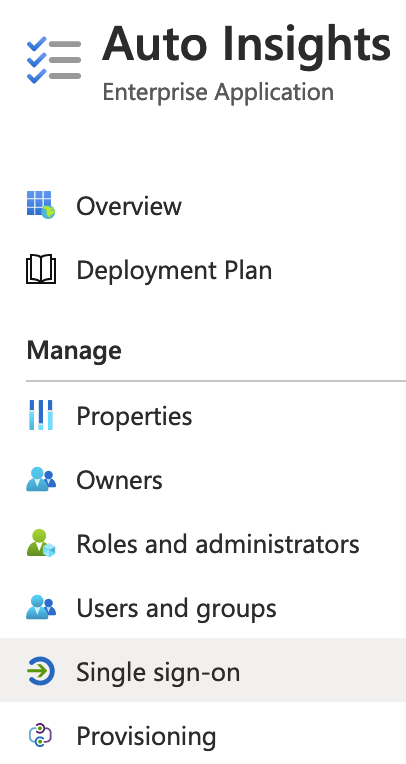
Select Single sign-on.
Select SAML.

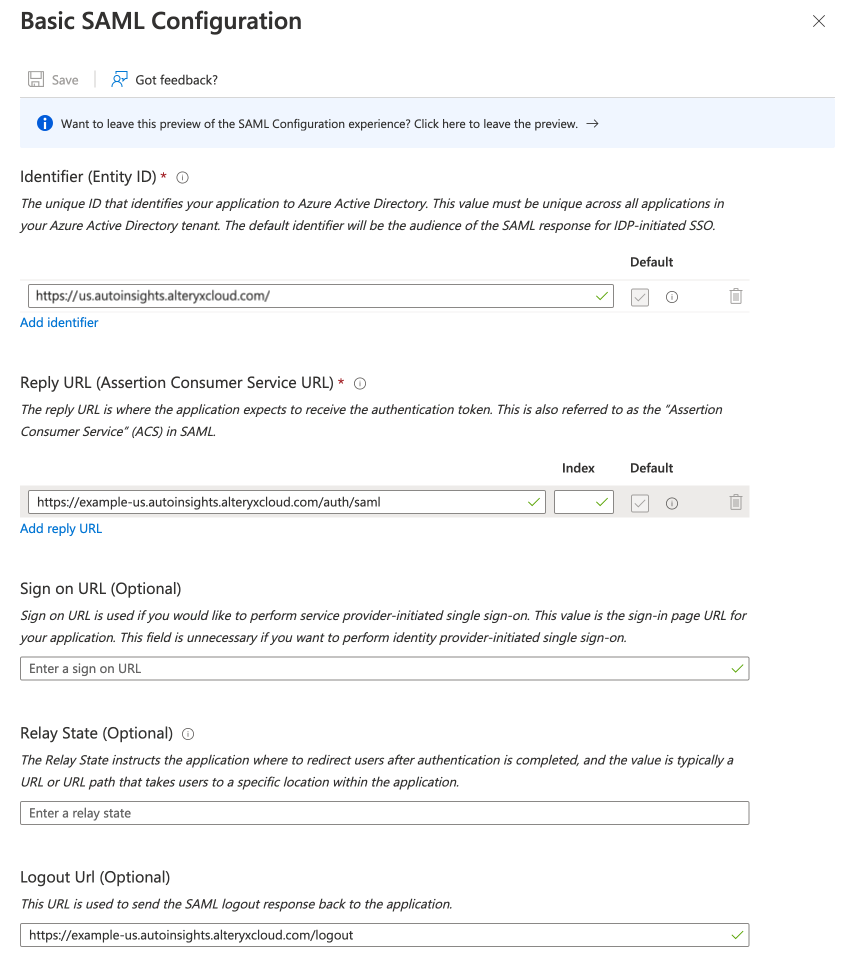
Set the following configuration properties.
Identifier: https://<region>.autoinsights.alteryxcloud.com.
Reply URL: https://<your custom URL>/userservice/auth/saml.
Relay State: <leave empty>.
Logout URL: https://<your custom URL>/userservice/logout.
Optionally:
Sign on URL: https://<your custom URL>/userservice/auth/saml.
Let the Auto Insights team know if you configure the Identifier to a different value.
Download Certificate (Base64).
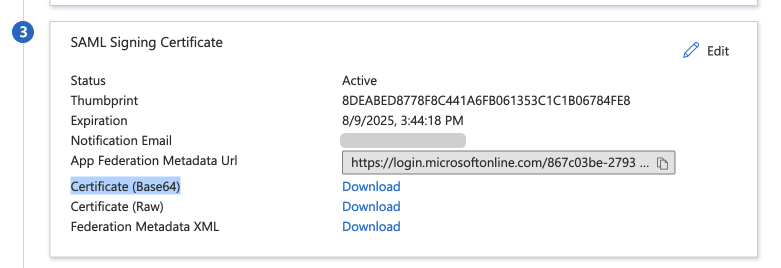
Provide the following to the Auto Insights Team:
Identifier,
Certificate (Base 64),
Login URL.

If you get the following error message when testing login...
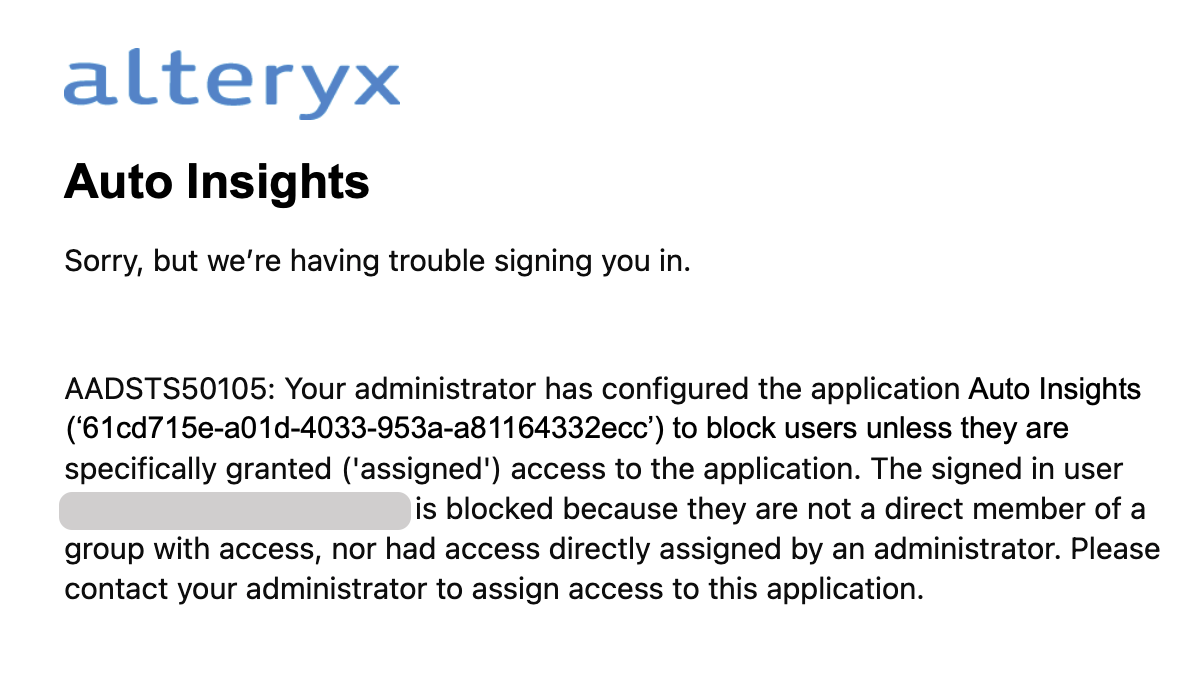
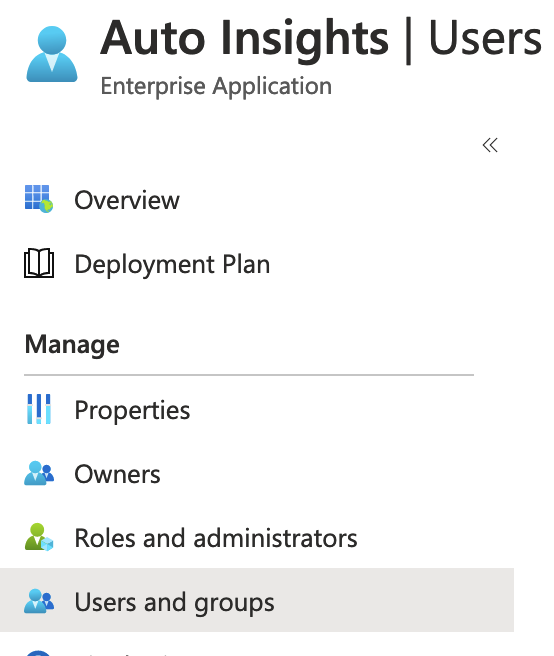
...then you may need to add users/groups to the Auto Insights application:
