Library for Assets Page
You can view workflows, plans, and reports that you have access to, as well as create new assets in the asset Library. To open the asset Library, select Library from the left navigation pane.
Designer Cloud—Designer Experience
Note
This option is available if you've enabled Designer Cloud in your workspace.
To view a list of your current cloud workflows, select Designer Cloud—Designer Experience from the leftmost navigation pane. To open a cloud workflow, select Open in Designer from the 3-dot menu. You can also use the 3-dot menu to Run, Schedule, and Share workflows (among other options).
To create a new cloud workflow, select + New. For more information, go to Build Workflows.
Cloud Workflow Sharing
Share your cloud workflows with other members of your workspace. To share a workflow, select Share from the upper right menu and then Add Members from the dropdown. Invited members receive an email notification. Note that workflow sharing includes any related Schedules for that workflow.
To remove access to a shared workflow, open the Share dialog, select the dropdown next to the user, and then select Remove. Note that when you unshare a workflow, this action does not unshare related Connections and Datasets.
Important
An admin must enable Cloud Workflow Sharing on the Workspace Settings page from the Admin Console.
Important
Consumer role doesn't allow to share Workflow, while other users could share workflows with Consumer. Go to the Roles Page to learn more.
Caution
Do not modify the cloud workflow JSON file. This might cause unexpected errors upon import.
Cloud Workflow Import and Export
If you are a member of multiple workspaces, you can export a cloud workflow from 1 workspace and import it to another workspace.
To export a workflow, select Download from the 3-dot menu to store it locally on your computer.
To import a workflow to another workspace, select Upload on the Library page and then select an exported workflow. For imported workflows, make sure to update any dataset dependencies that the workflow needs to run successfully.
Important
You must be assigned a Role that has Author privileges for Workflows to import a workflow. Go to the Roles Page to learn more.
Designer Cloud—Trifacta Classic
Note
This option is available if you've enabled Trifacta Classic in your workspace.
To view a list of your current flows, select Designer Cloud—Trifacta Classic from the leftmost navigation pane. You can then select a flow from the list to view it.
To create a new flow, select + New. For more information, go to Trifacta Classic Experience.
Designer Desktop
Note
This option is available if you've enabled Workspace Execution in your workspace.
To view a list of your current desktop workflows, select Designer Desktop from the leftmost navigation pane.
You can also Run, Schedule, or Delete (among other options) a desktop workflow from the 3-dot menu.
Desktop Workflow Sharing
Share your desktop workflows with other members of your workspace. To share a workflow, select Share from the 3-dot menu and then Add Members from the dropdown. Invited members receive an email notification. Note that workflow sharing includes any related Schedules for that workflow.
To remove access to a shared workflow, open the Share dialog, select the dropdown next to the user, and then select Remove.
Important
An admin must enable Desktop Workflow Sharing on the Workspace Settings page from the Admin Console.
Important
Alteryx One does not support Desktop workflow sharing with DCM at this time.
Desktop Workflow Import and Export
If you are a member of multiple workspaces, you can export a desktop workflow from 1 workspace and import it to another workspace.
To export a workflow, select Download from the 3-dot menu to store it locally on your computer.
To import a workflow to another workspace, select Import on the Library page and then select an exported workflow. For imported workflows, make sure to update any dataset dependencies that the workflow needs to run successfully.
Important
You must be assigned a Role that has Author privileges for Workflows to import a workflow. Go to the Roles Page to learn more.
Metadata Tagging
To enhance asset management capabilities, metadata tagging enables users to categorize assets and use them across various asset management processes. Software Development Lifecycle (SDLC) process support and advanced filtering and search in Alteryx One Platform are just some example benefits. This functionality is available to both Editors and Consumers, with access controlled based on user privileges.
The asset is shared with all the tags assigned to it.
Tags are available on the asset level in all the versions of an asset.
You can use the Manage Tags section to create, manage, delete, and search for available tags created by you or other users across the workspace:
from Alteryx One Platform Library > Asset Details,
from Alteryx One Platform Library > List View (3-dots menu) > Tags. Here you can create, manage, delete, and search for your own tags and those created by other users.
You can filter Library views for Designer Cloud and Designer Desktop using tags and can combine Tag filter with other filters available in the Library view.
Permissions
Admin can manage all the tags.
User needs to have Edit permission on an asset in order to add and manage tags.
User without Edit permission (Viewer) is able to list available tags, view tags assigned to an asset but not modify existing attributes.
Note
Metadata tagging is initially available only for Designer Cloud and CEfD workflows. Other asset types will be supported in the future.
Data Labels and Asset Certification
Data Labels allow you to tag assets with important information, such as certification status, sensitivity, or data quality, so others can easily identify and use them appropriately.
Users must have the appropriate capability to add Data Labels to assets. Refer to Configure Certification Roles and Capabilities.
To add Data Labels to an asset...
Navigate to Library.
Locate the asset.
Select the three-dot menu next to the asset or open the asset details page.
Select Data Labels.
Select a certification category.
Select a certification value.
Select Save.
Alteryx One stores certification metadata on the selected asset version. Data Labels' badge appears in:
Asset List Views
Asset Details Page
Use Assets Certified with Data Labels
You can identify and use certified assets in the Library. Certified assets display a visible Data Label badge in the Library list view and on the asset details page, so you can quickly confirm their trusted status. Use filters to narrow results by Data Label value and focus on assets that meet your governance requirements.
Filter Assets by Data Labels
To filter assets by Data Labels...
Navigate to Library.
Select the filter icon to open the filters panel.
Select Data Label.
Expand a category (for example, Certification, Sensitivity, Data Quality, or Compliance).
Select one or more label values.
The Library updates to display only assets that match your selected filters.
Note
Disabled labels are not available in the Filters panel.
View Data Labels
Applied Data Labels appear as badges next to asset names.
In the Library list view, hover over a Data Label to view complete details.
Disabled Data Labels (if already applied to an asset) remain visible but cannot be newly applied.
In the Library list view, select the three-dot menu next to the asset.
Select View Asset Details.
Review the Data Labels badges at the top of the details page.
Select Version History from the three-dot menu of the asset to view certification per version.
You can run the asset or use it in downstream processes, such as Plans or Apps, based on workspace permissions.
Re-Certification of New Asset Version
Data Labels apply only to a specific asset version.
When a user updates an asset and creates a new version:
The new version does not inherit the Data Labels.
The previous version retains its Data Labels history.
Re-Certify New Asset Version
To re-certify a new version of an asset...
Open the new asset version in the Library.
Select Data Labels.
Select a category and value.
Select Save.
Alteryx One records audit events for:
Data Labels invalidated due to a new version.
Data Labels re-applied.
Optional notifications can alert the asset owner and the last certifier when a new version requires certification.
Filtering
You can filter the Library table for Designer Cloud and Designer Desktop:
All: Display all assets.
Owned By Me: Display all assets where the current user is an Owner.
Shared With Me: Display all assets shared with a current user.
Owner: Display all asset where Owner is matching user selection criteria; multi-selection possible.
SharedWith: Display all assets based on user selection with whom it was shared; multi-selection possible.
Tag: Display all assets which have specific tags assigned; multi-selection possible.
Machine Learning
Note
This option is available if you've enabled Machine Learning in your workspace.
To view a list of your current ML projects, select Machine Learning from the leftmost navigation pane. You can then select an ML project from the list to view it.
To create a new ML project, select + New. For more information, go to the ML Landing Page.
You can also Delete an ML project from the 3-dot menu.
Auto Insights
Note
This option is available if you've enabled Auto Insights in your workspace.
Note
All Missions and Reports, except broadcast Missions, are now assets in the Library.
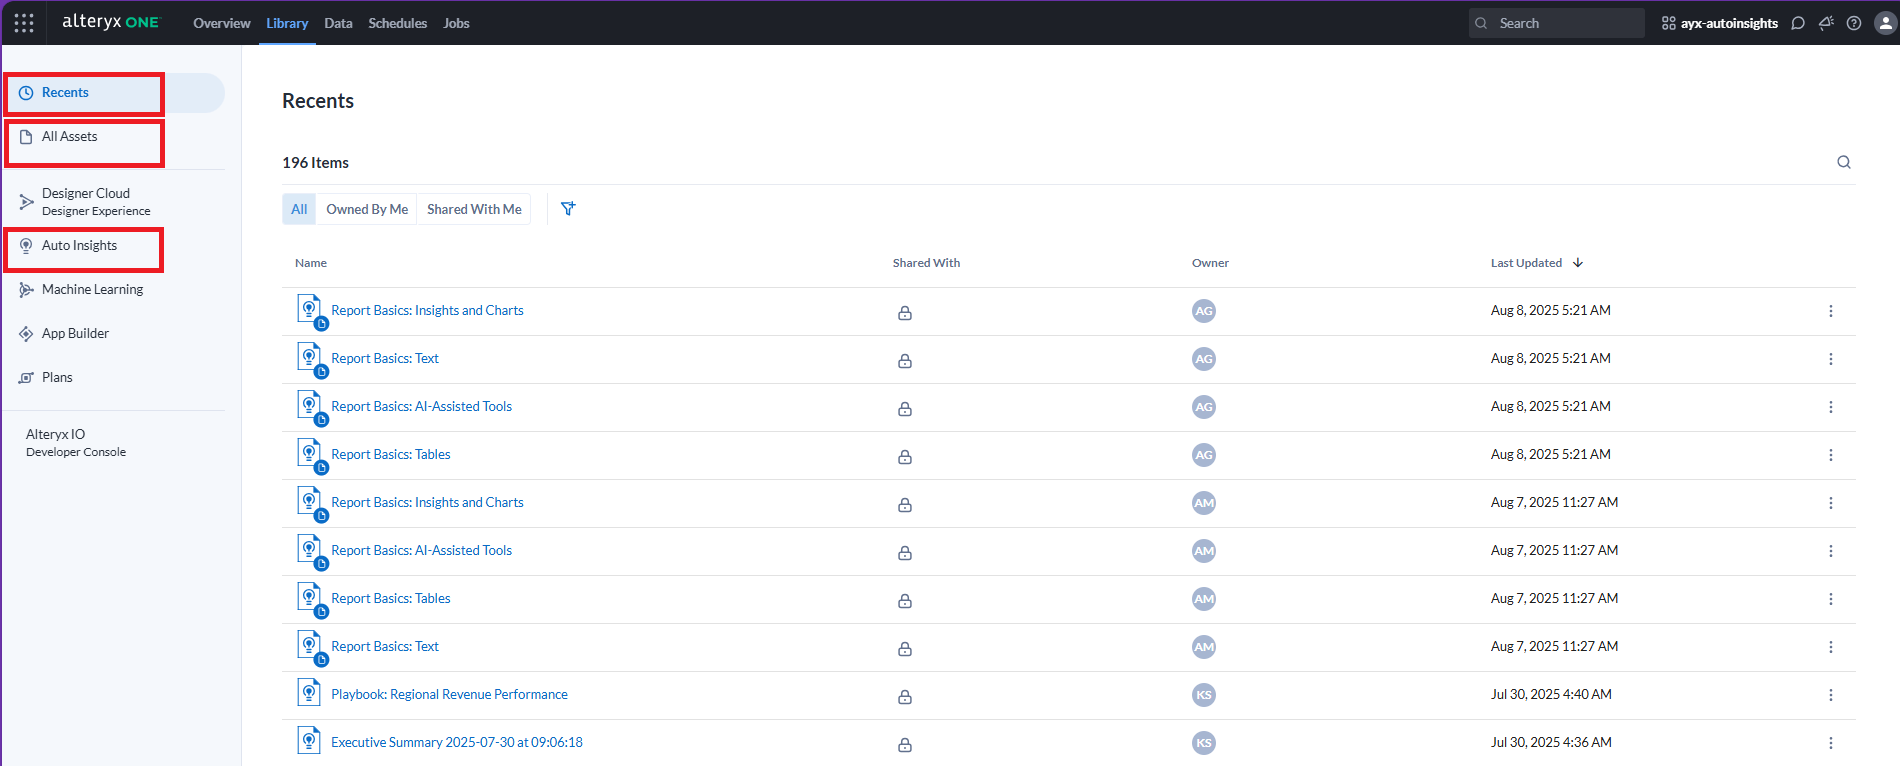
View Existing Mission or Report
To view your Reports and Missions, go to the Library page, then select the Recents or All Assets tab.
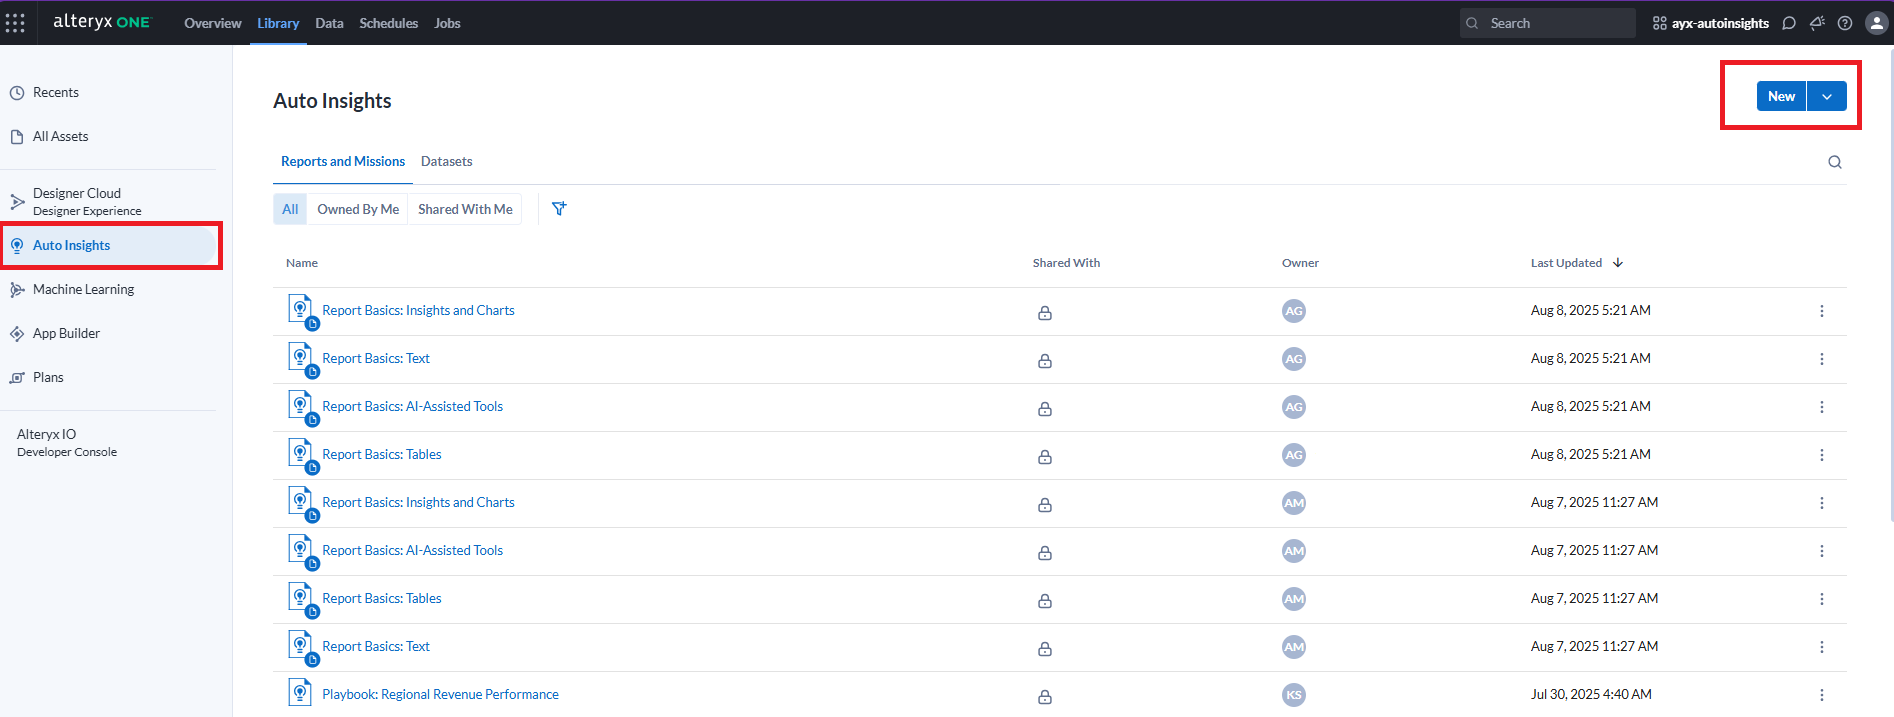
You can also view Reports and Missions under the Auto Insights tab in the Library. These assets are grouped in a single tab, while Datasets appear separately.
Create New Mission or Report
To create a new Mission or a Report, select the New + button on the Auto Insights tab. For more information, go to Mission, Reports.
Manage Missions or Reports
Use the 3-dot menu to perform actions based on your permissions:
Share.
In the Recents and All Assets tabs, you can also move your asset or assets shared with you into a folder.
Add Tags.
Delete.
Dataset as Assets
Note
All Datasets are assets in the Library.
The following types of Datasets are expected to appear on the Library page after asset integration:
CSV Datasets (file-uploaded datasets)
Playbooks (created via Playbooks)
Note
Playbooks Datasets cannot be refreshed.
Designer Desktop (uploaded via Designer Desktop)
Note
Designer Desktop Datasets cannot be scheduled.
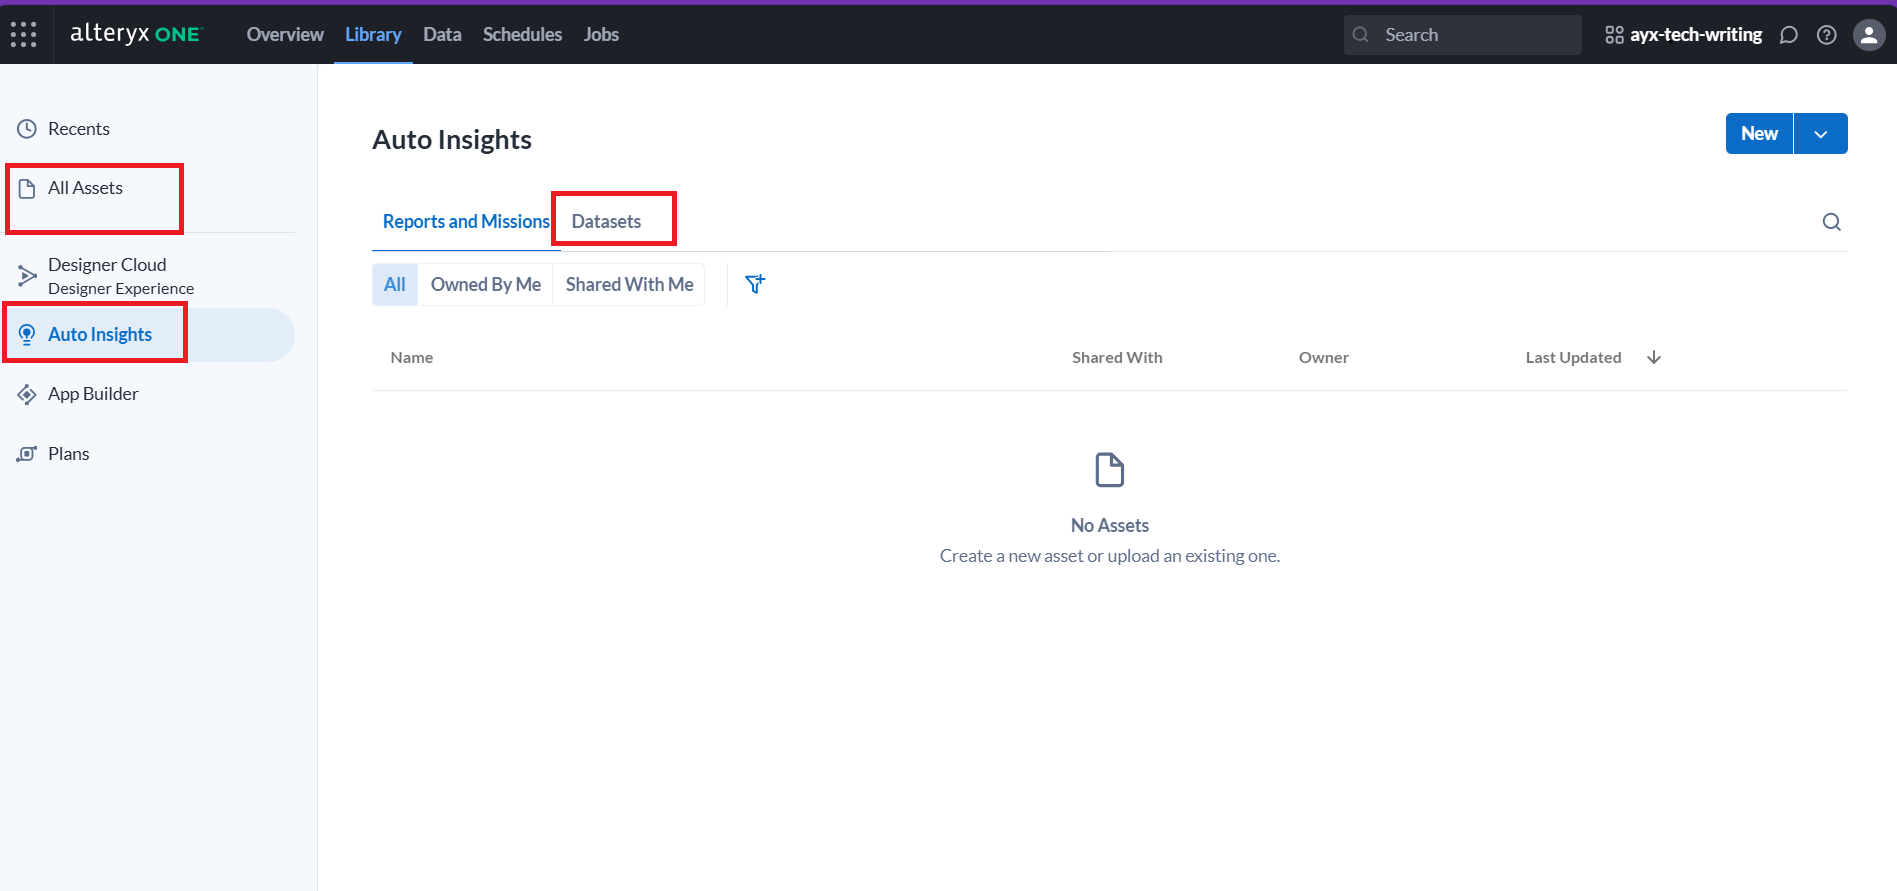
View Existing Dataset
To view your datasets, go to Library page, then select the Recents or All Assets tab.
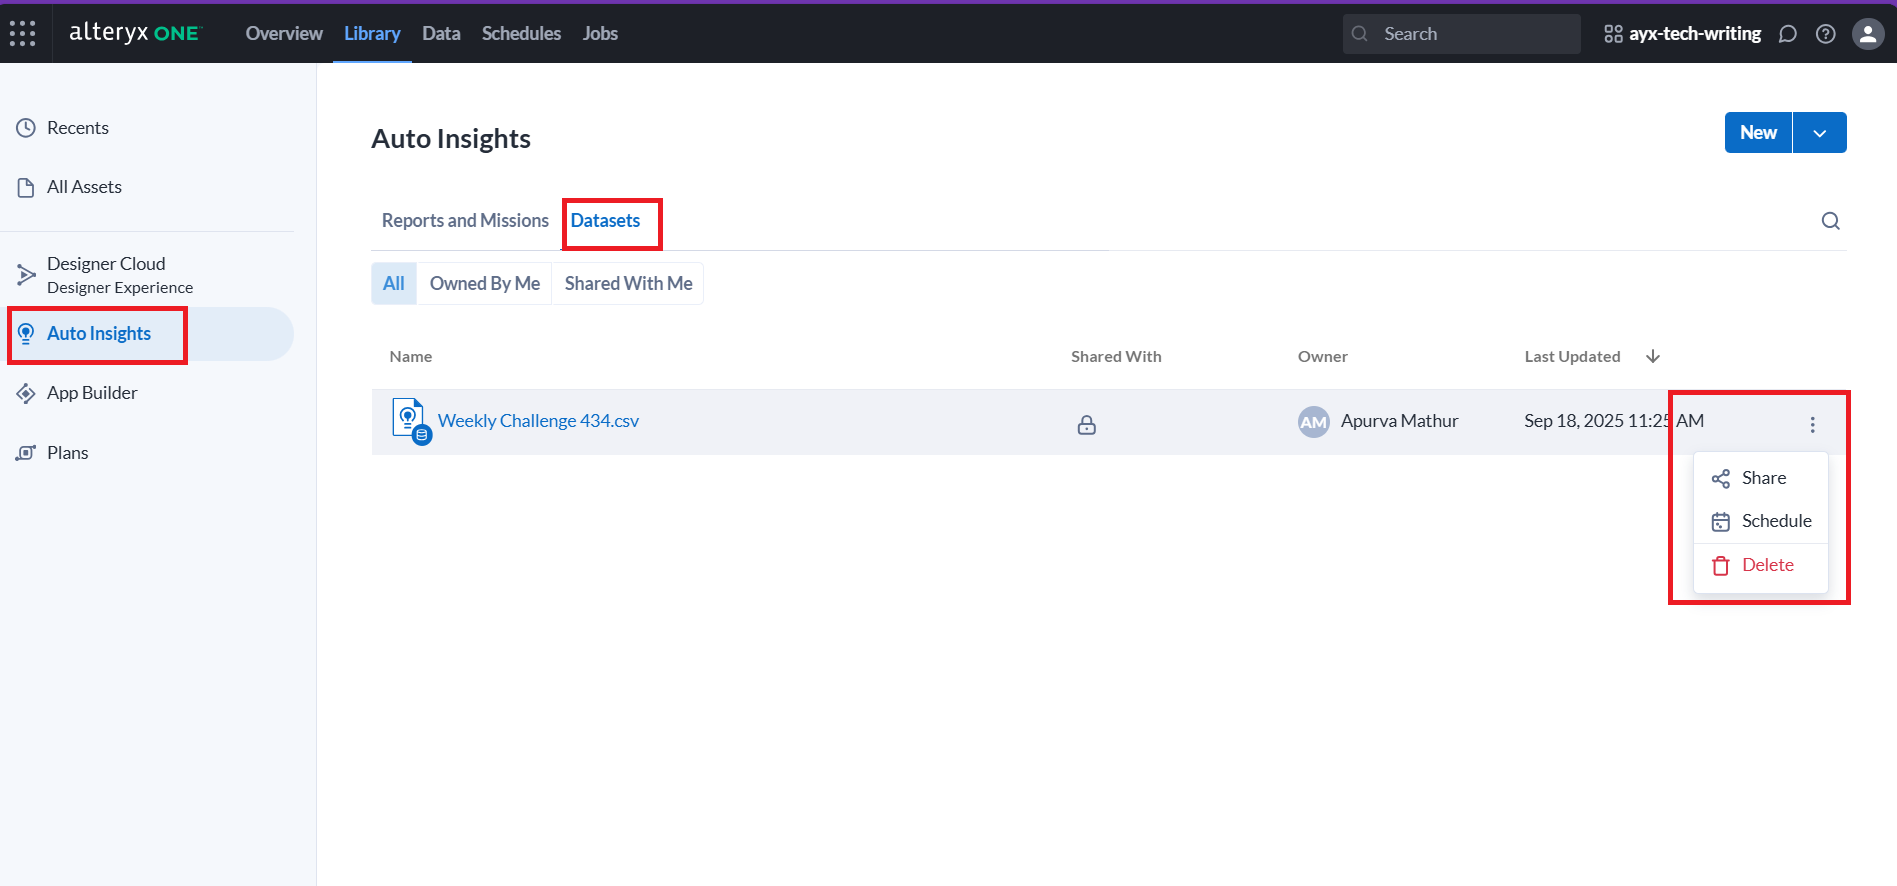
You can also view Datasets under the Auto Insights tab in the Library. These assets are grouped in a single tab, while Reports and Missions appear separately.
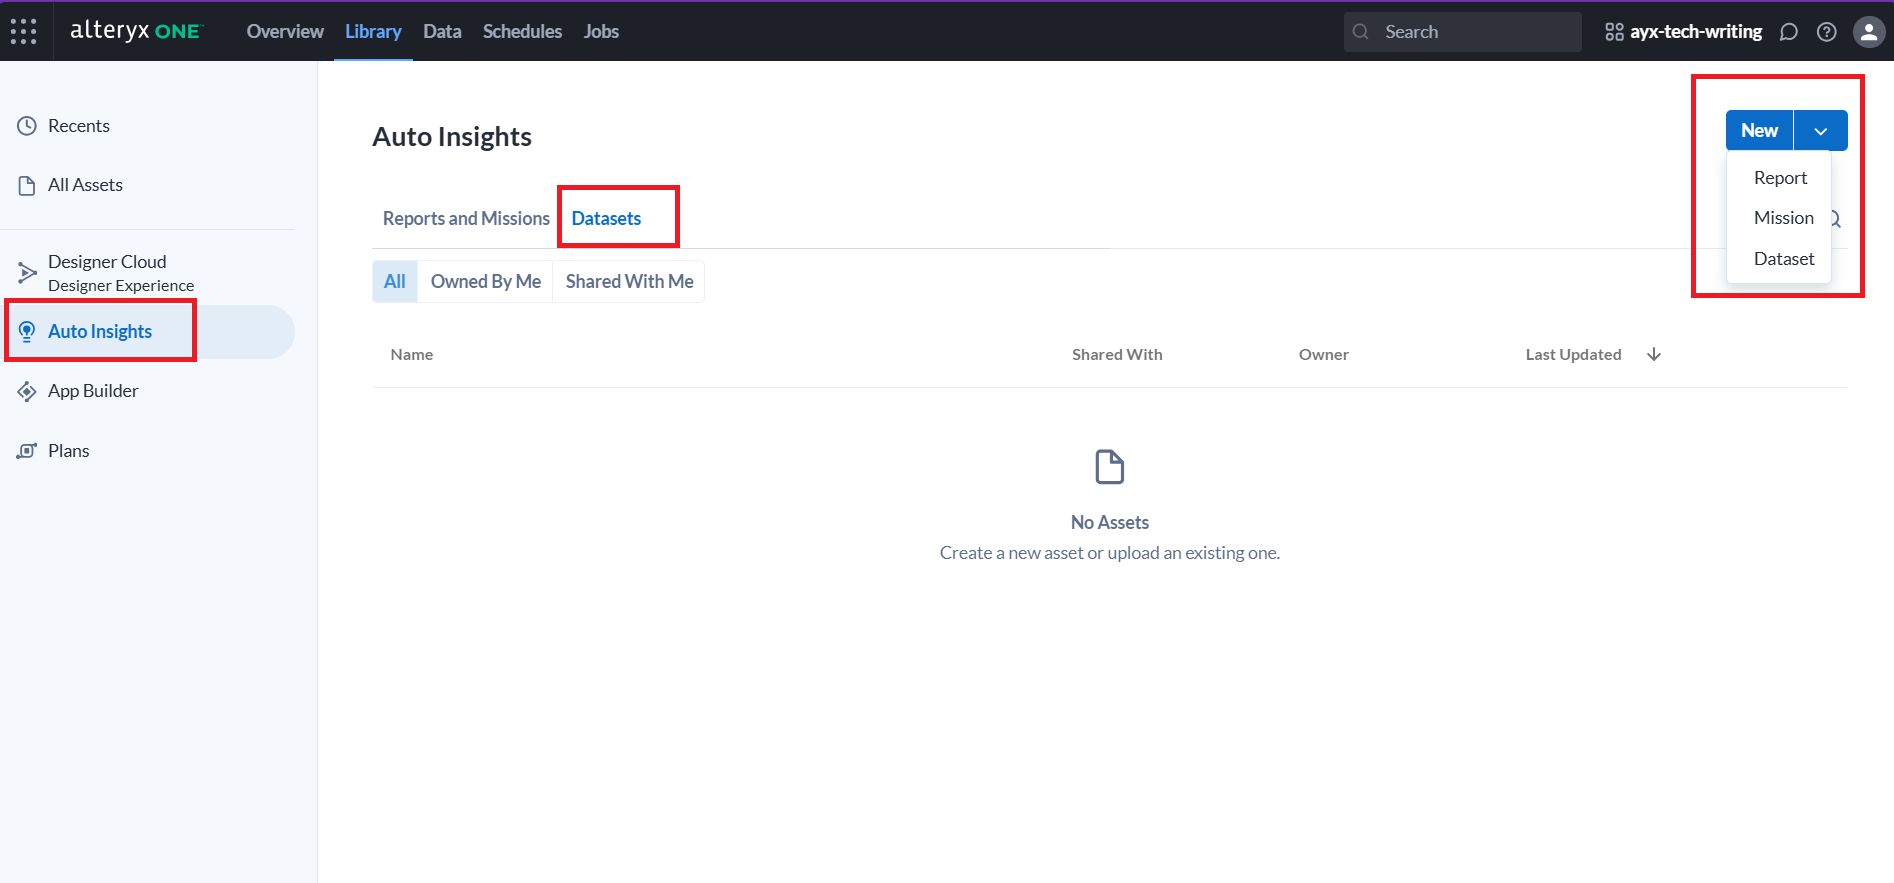
Create New Dataset
To create a new Dataset, select the New + button on the Auto Insights tab.
Manage Dataset
Use the 3-dot menu to perform actions based on your permissions:
Share
Schedule
Delete
Note
The following types of datasets do not appear as assets in the Library:
Note
Dataset files larger than 1 GB are not moved to the Library. The AAC upload for file-based data (CSV) does not support files over 1 GB.
RBP (row-based permission) Datasets
Sample Datasets
AAI Connections
Partially ingested datasets (datasets that never successfully ingested and can’t be used in Missions or Search)
For more information, go to Alteryx One Platform Dataset FAQs
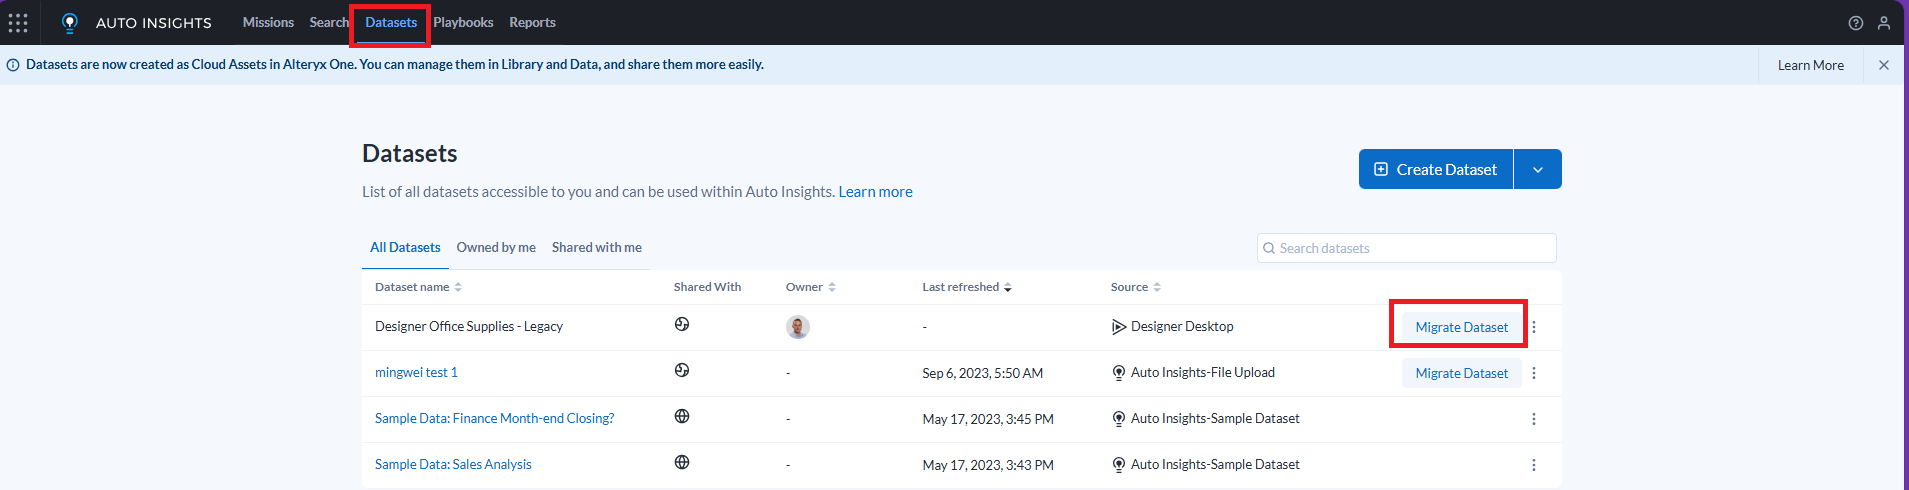
Manual Migration of Company-Wide Datasets
Dataset owners can migrate datasets from the Auto Insights Dataset Tab and share them with the appropriate workspace user group. For more information, go to ???.
To migrate your dataset, go to the Dataset tab in Auto Insights and select the Migrate Dataset button next to the dataset you want to migrate.
App Builder
Note
This option is available if you've enabled App Builder in your workspace.
To view a list of your current apps, select App Builder from the leftmost navigation pane. You can then select an app from the list to view it.
To create a new app, select + New. For more information, go to Build Apps.
You can also Delete an app from the 3-dot menu.
Plans
Note
This option is available if you've enabled Orchestrator in your workspace.
To view a list of your current plans, select Orchestrator from the leftmost navigation pane. You can then select a plan from the list to view it.
To create a new plan, select + New. For more information, go to Get Started with Orchestrator.
You can also Delete a plan from the 3-dot menu.